 Contemporary
 Fashion
 Sports
 Halloween
 Memorial Day
 Mother's Day
 Summer
 Thanksgiving
 Farm Animals
 Architecture
 Barns & Farms
 Minimalist
 Modern
 Grand Millennial
 Reimagined Masterpieces
 Typography
 Impressionism
 Black
Black
 Blue
Blue
 Green
Green
 Orange
 Pink
Pink
 Teal
Teal
 Yellow
 Bronze
 Burgundy
 Copper
 Neutrals
 Black & White
 Tan & Beige
 Very Peri
 Georges Seurat
 Oliver Jeffries
 Synthia Saint James
 Tom Quartermaine
 Dean Russo
 Farida Zaman
 Jane Slivka
 Mark Chandon
 Nan
Nan
 Sylvie Demers
 Georgia O'Keeffe
 Gustav Klimt
 Leonardo da Vinci
 Pierre-Auguste Renoir
 Vincent Van Gogh
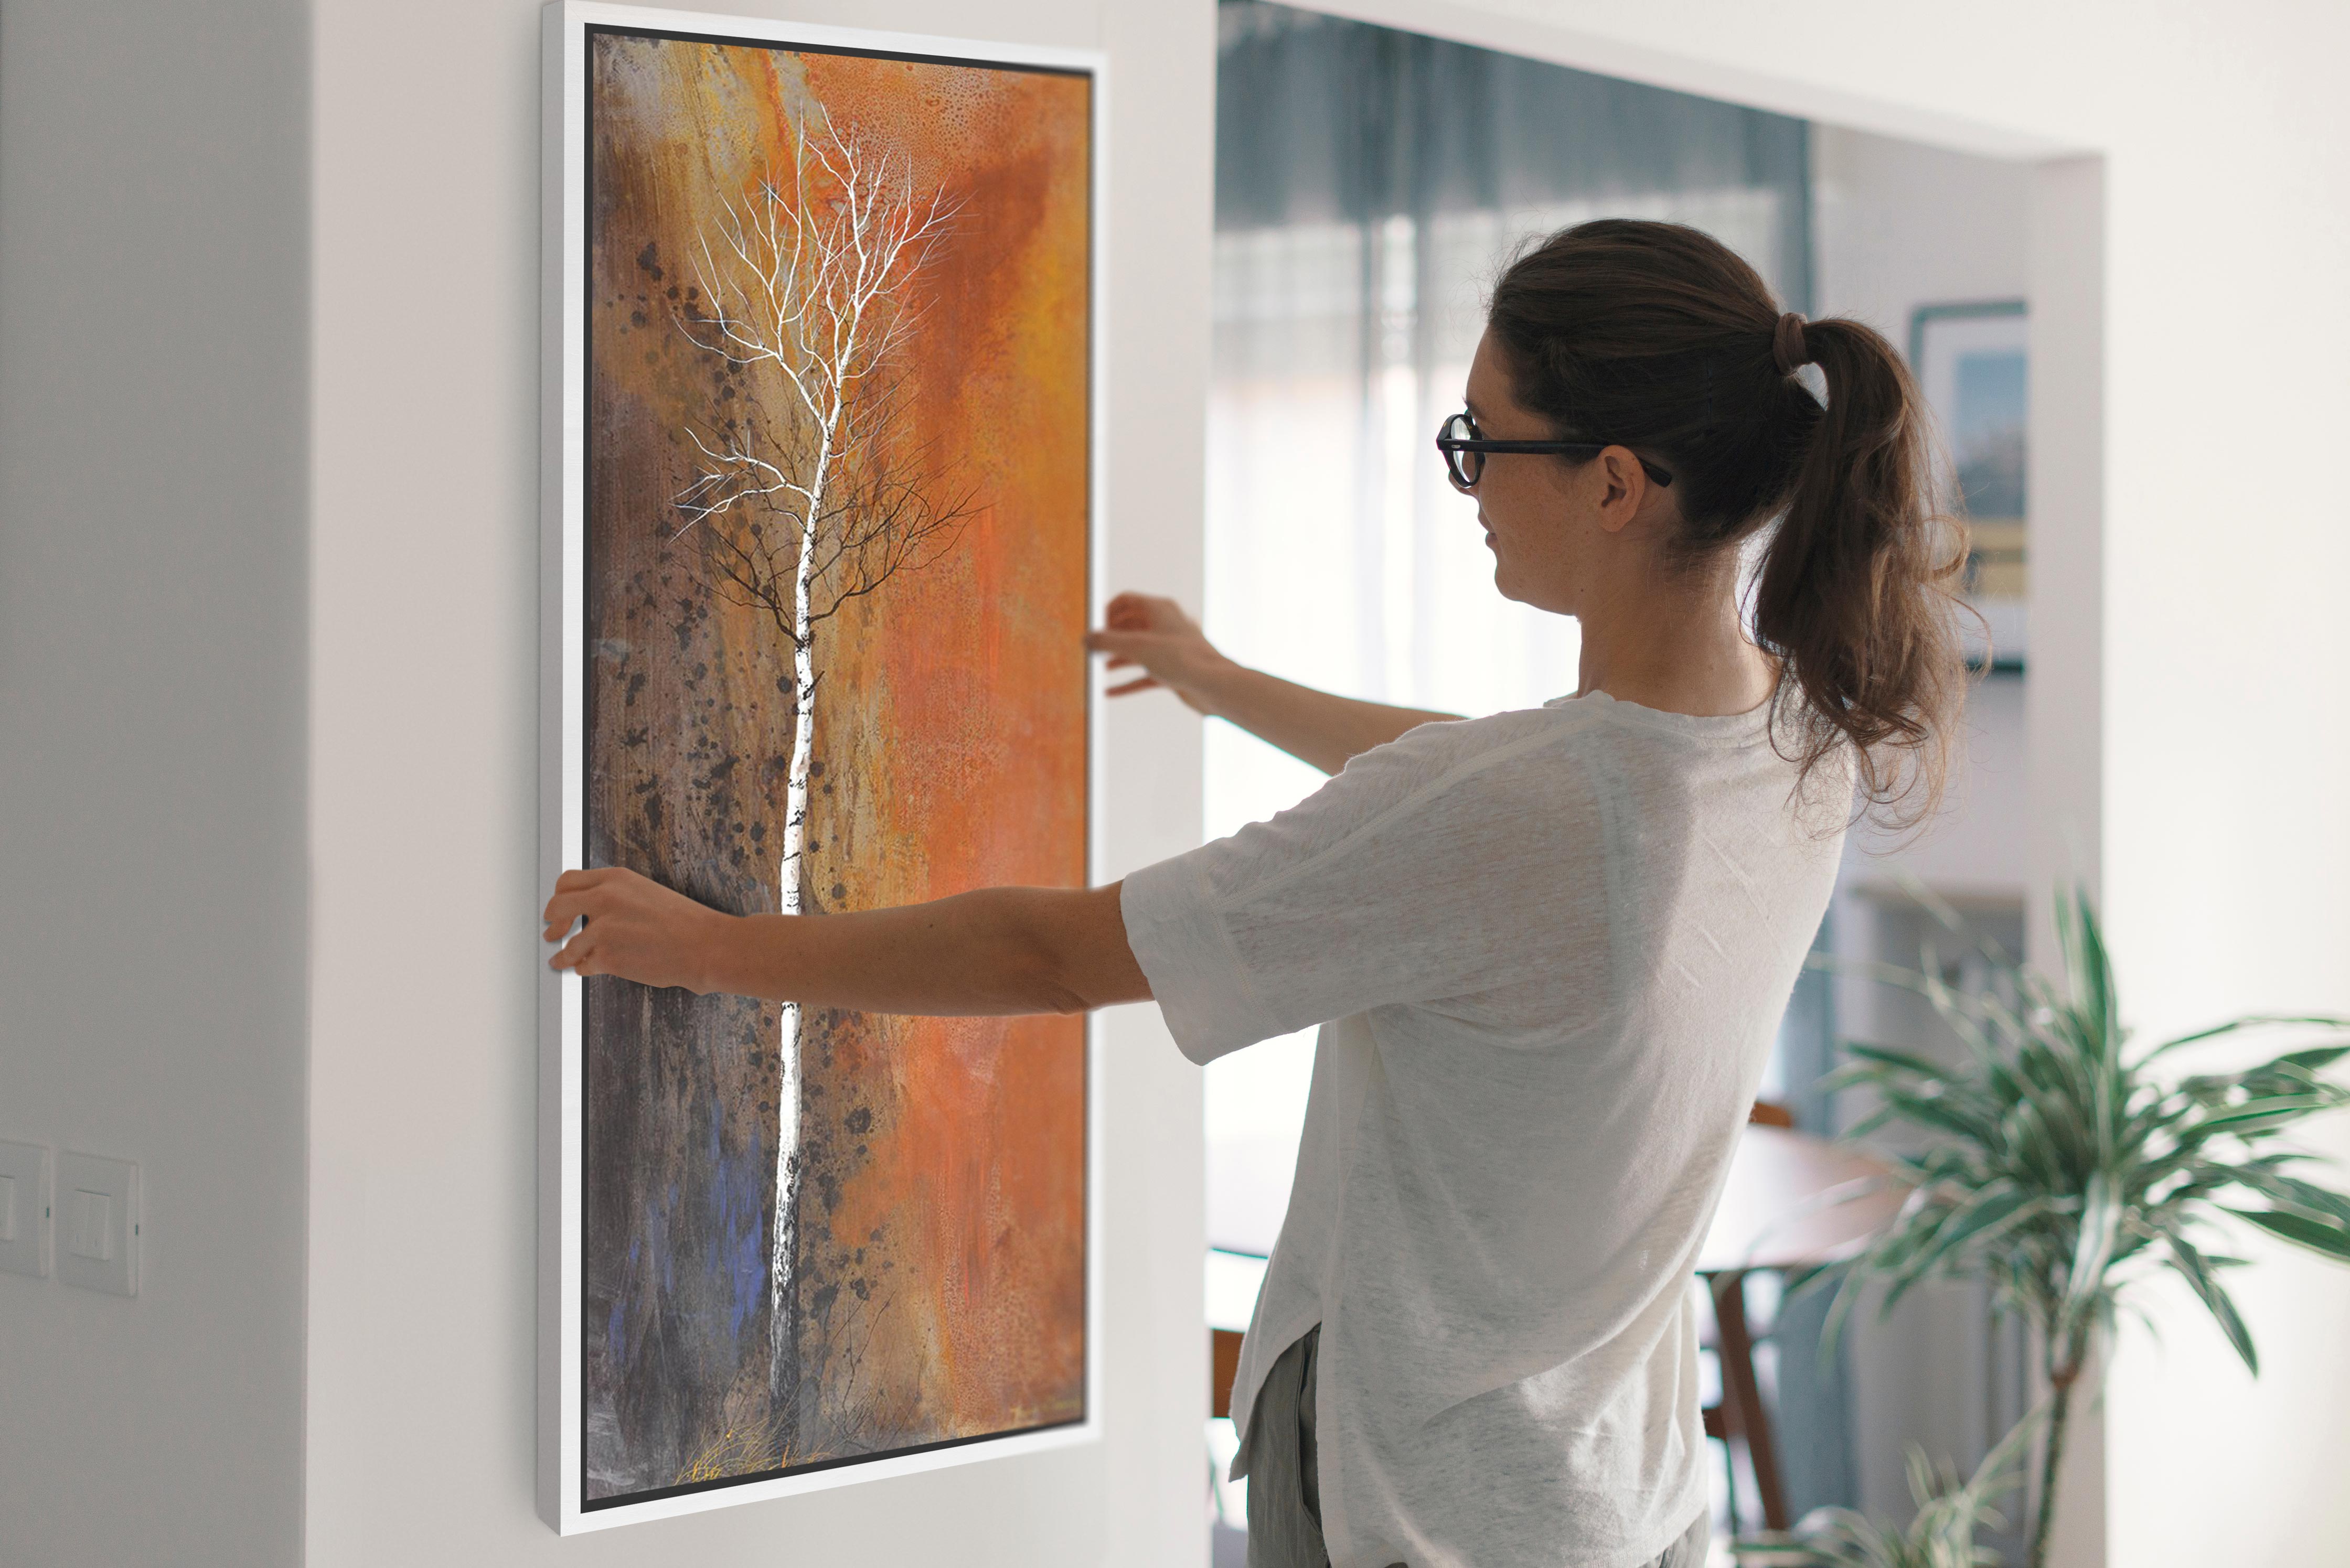
4 Steps to Hang Artwork Like a Pro!
So you've gone through the arduous process of picking artwork out for your walls.
Whether you've settled on framed or unframed canvases, abstract, photography, or scenic art, one prominent piece, or a series of prints, the hardest part of the process is done...right?
The task of actually hanging your artwork on your walls can seem daunting. There are so many ways this process could go awry that just thinking about it can give you the cold sweats! There's just something about hanging up art that seems so intimidating and insurmountable!
Take a deep breath and relax. Below you will find a step-by-step guide on how to hang your artwork in your home, office, or wherever you've decided it should live. We promise that, with a bit of time, patience, and a good eye, you'll have your beautiful new work of art displayed proudly in no time.

Step 1: Gather your tools
The first step in this process may seem silly, but it needs stating.
Before you start drilling or hammering holes into your walls, you need to develop a game plan.
Decide whether you want your canvas art hanging on your wall, leaned up against it, placed on a picture shelf or ledge. Consider the weight, size, and shape of the pieces you'll be hanging, as well as where you'll be hanging them. After all, the process of hanging art on a brick wall is far different from the tools and techniques you might use on plaster or drywall.

Neutral Autumn No. 2 & No. 3 by Ramona Murdock
Tip: If you have multiple pieces to hang around your home, consider grouping canvas prints by a shared quality, such as color, shape, or motif.
Step 2: Planning is everything
Nothing is more frustrating and annoying than doing all the work that it takes to hang your new piece of art, only to find out that you don't like it there after all.
That's why it's best to find the perfect spot for your new canvas print before you even consider hanging it. Take the time in the beginning, as it will ultimately save you time in the end. We know this can be a step that ultimately keeps you in limbo, but a great way to help narrow things down is to start by picking which room your new piece or pieces will go in.
Once that's done, you'll be ready for step two.

Solo Poppy Red I, II, III, & IV by Bannarot
Tip: Use scrap paper to mock up and size and shape of your art, taking care to mark where the hanging hardware goes in the back. Tape these makeshift works of art to the wall to play with the placement of your art. Here, you can experiment with hanging pieces higher or lower on the wall or in pairs.
Step 3: Find your center
Using a pencil, carefully hold your artwork up to the wall and mark along the top center of the piece.
If you want to get more precise, you can measure the horizontal distance of your piece to find the exact middle and mark the top center using that measurement.

Tip: When measuring where you want your art to hang, aim to display frames 57-60" from the floor or 4-6" above any furniture. Barring that, eye-level is the sweet spot to aim for. If you're planning a gallery wall look, hang pieces at equal distances from each other (about 2-5").
Step 4: Choose your hanging method
From here, you have a few options as far as hanging goes.
- 1-2 wide-headed nails – With this method, simply lay your artwork down with the back facing up. Measure the height of the frame, as this value will represent the distance from which you place your nail(s) from the lines you drew in the previous step. Next, using the height from the last step, measure down from the center point and mark an X. Then, hammer the nail in and place your artwork on top. If you'd like a more secure mounting, place your artwork up on the wall again, find the center, and mark the left and right corners with your pencil and repeat to create a more balanced, centered, and straight look.
- J-hooks – These are a more economical and less permanent option in that they allow you to hang your new artwork up without having to put holes into your wall. Some J-hooks only come with an adhesive option, while others give you the flexibility of using nails or peel-off adhesive. The process for J-hooks is similar to those mentioned above. Simply measure the height of the J-hook and use that value when measuring down from the top of your piece to hang your art to the wall.
- D-rings – Unlike the other options, the D-rings included with your purchase on Fine Art Canvas offer a more secure hold. Although the process may seem daunting at first, it’s relatively straightforward and quite user-friendly if you know a few tricks. To hang your canvas on your wall, put some masking or painter's tape across the opening of the D-rings, marking off just underneath the top of the D-ring on the masking tape. Carefully remove the masking tape from your art and place it on your wall, using a level to make sure both marks on the tape are perfectly straight. Using either picture hooks or screws, position your chosen hardware so it overlaps with the dots on the tape. Then, simply hang your canvas, checking with a level until you're satisfied.

Autumn Harvest by Ejaaz Hannif
Tip: The old adage "measure twice, cut once" applies here—measure twice, drill, and hang once!
See, that wasn't so bad now, was it?
We hope you found this tutorial helpful in getting your beautiful new works of art from off the floor and onto your walls.
If you need a little more guidance on choosing art or some tips to get you started on your search, feel free to reach out to us in the comments or on social media.

Leave a comment
This site is protected by hCaptcha and the hCaptcha Privacy Policy and Terms of Service apply.